Using Clock Apps

Clock Apps are quite useful, specially in public transportation, in companies and universities, basically anywhere where people need to be on time. Check out how to display time and date info on your signage below:

    1. Go to the Content tab on your screenpublishing workspace. Click the “New” button on the top-left, followed by “App”.
    2. A pop-up window will appear on your screen with all available screenpublishing Apps. The clock category is automatically displayed, but you can also find it in the sidebar menu in case you jump around. Select the model you like most. Below is an overview:

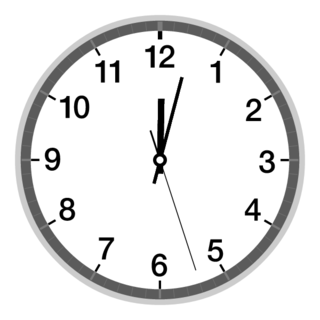
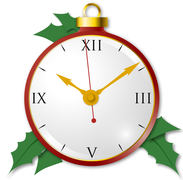
Small Clocks: You can just set these apps to a small screen zone and let the focus remain on the main content. Clocks are available in round and square layout. If you want something more modern looking, we offer a digital style clock. There is also a holiday themed clock for Christmas time.

clock apps round layout
analog layout clock apps


digital style clock apps
holiday layout clock apps


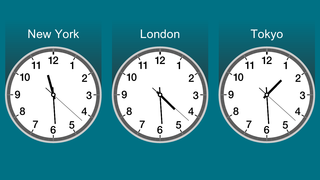
Multi City Clocks: A staple of international scenery are multi city clocks. screenpublishing offers two sets of multi-city clocks. Set three different cities and trace your international clients’ and coworkers’ timezone.

multi city round layout clock apps
multicity clock square clock apps


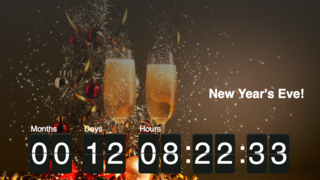
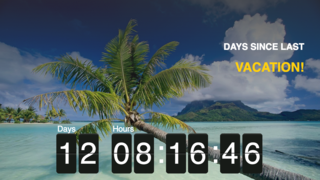
Countdown and Time Elapsed: Begin the anticipation to holidays or special events with the countdown app. The time elapsed tool, on the other hand, keeps track of how much time has passed since an event occurred – such as an accident or the last time a client had a complained.

countdown clock apps
time elapsed clock apps


  1. As you select the Clock App for your campaign, you will be requested to adjust the settings. Besides the basic information, like app name and location, you are able to customize colors, dial numeric systems and backgrounds. The settings vary for each clock – while some are fully customizable, others will only allow for a few color changes.
  2. Click on “Preview” to check how your settings look.
  3. If you like the result, hit “Save”. The App is now in your Content Library and ready to be used.