Set image background transparent

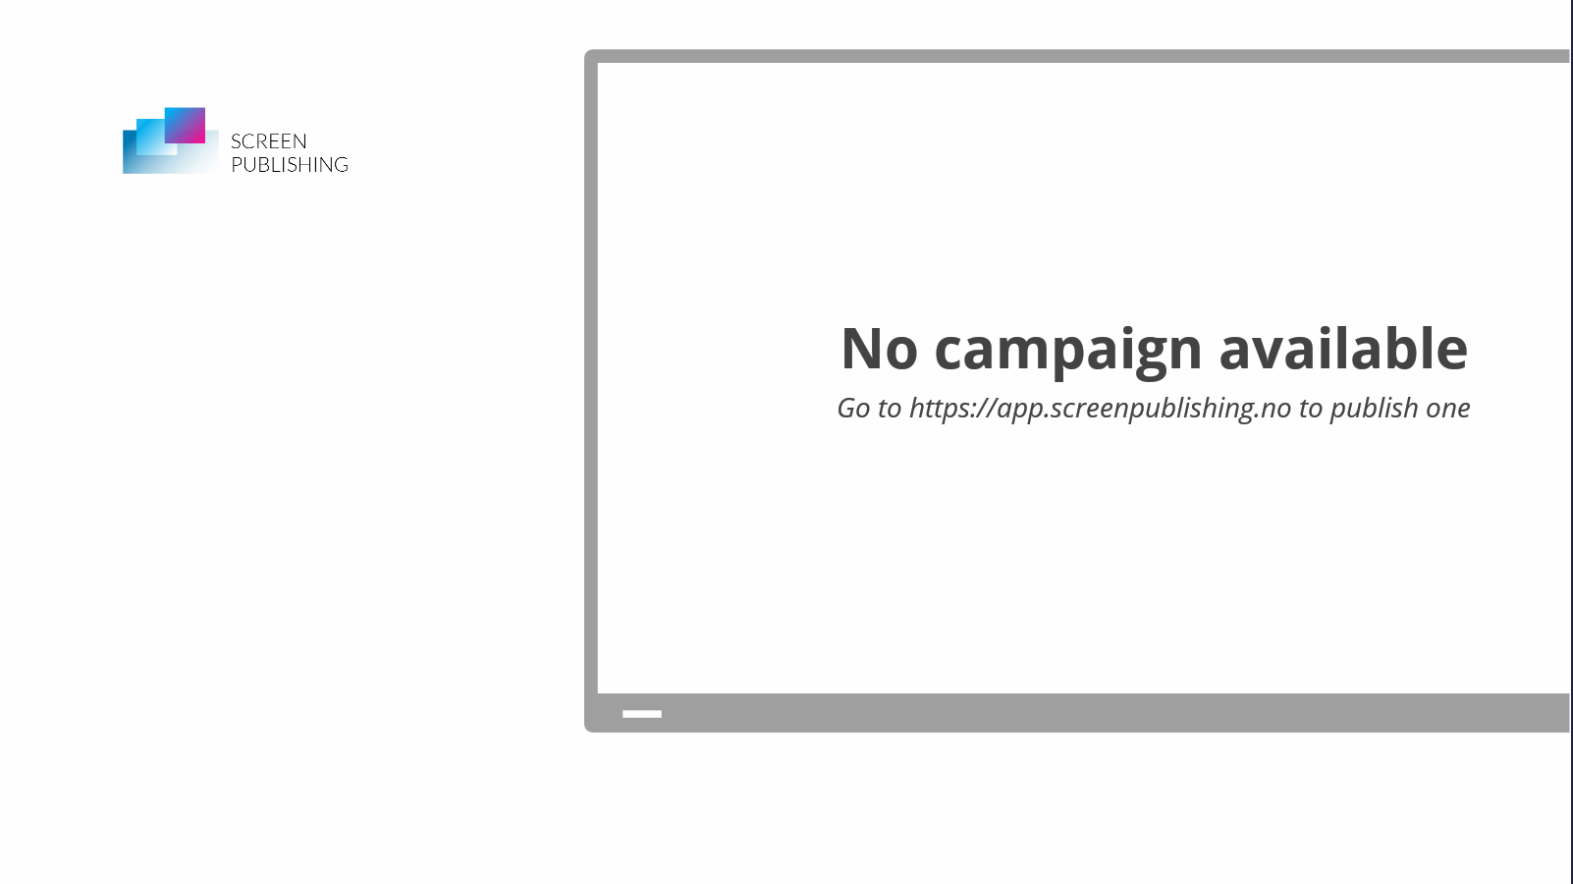
Out of all image formats supported by screenpublishing, “.png”-files have the option to be set to transparent or with a lower level of opacity. This feature is useful if you want to showcase the full background behind an image or add a frame to your content. By comparing the two images at the end of this tutorial it will become clear.

  1. Create or edit an image in your photo editor and save it as a “.png”-file.
    save imagine as png
  2. Create or edit a campaign in your screenpublishing account.
  3. In the “Screen Layout” section of the campaign editor, click “Add Custom Layout”.
  4. Add the screen divisions which will fit the content you want to add, such as apps and files. At last, create an overlapping layer for the transparent image (Zone B of the image below).
    overlapping zone for png
  5. Save this layout by clicking “Create Layout”.
  6. Upload the “.png”-file and drag it from your content library to the overlapping zone’s timeline ruler.
    drag png to timeline
  7. Finish editing your campaign. Take into account that the transparency won’t be visible in the Preview mode. Instead, the transparent area will be shown as black.
  8. Hit “Save and Publish”. This will be the result on the player: