To implement the lift-and-learn solution you will need:
Before configuring the software, let’s make sure you have your hardware set.
*Depending on the Nexmosphere Controller you can have multiple XR Receivers connected to it.
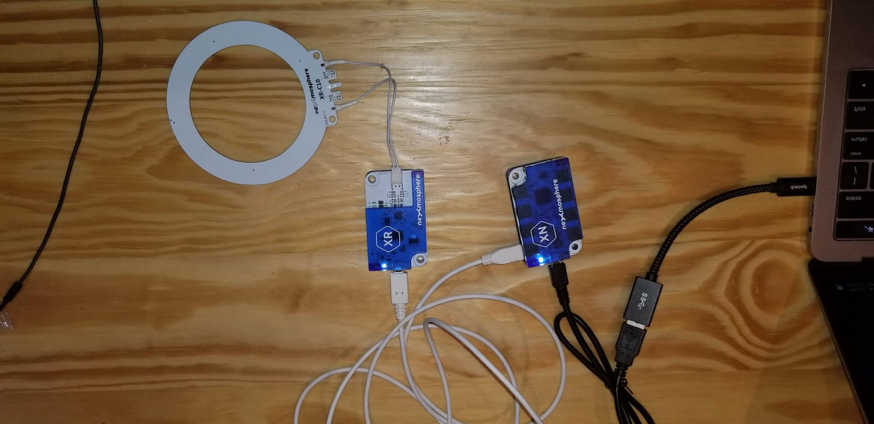
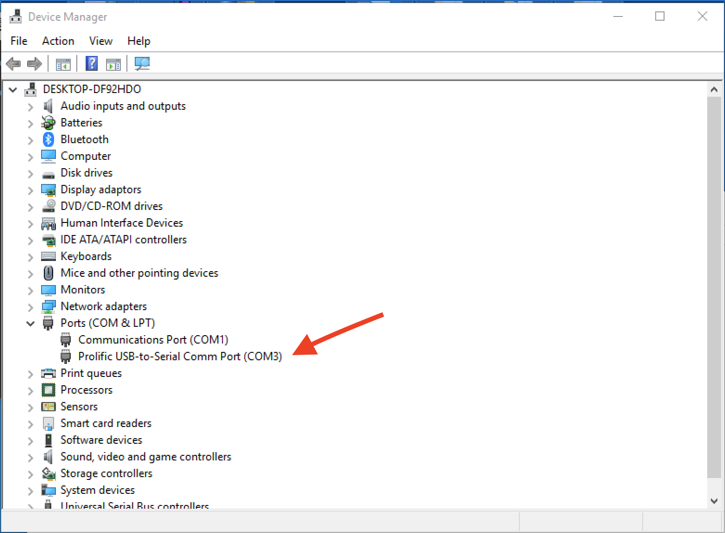
If using a Nexmosphere USB Controller (e.g. XN-185), you will need to check the serial port number assigned to your device.
The Serial Trigger is an additional screenpublishing Module that will read the events sent from the Nexmosphere Controller and trigger the associated content at the screenpublishing player.
IMPORTANT: Make sure you CLOSE any other serial terminal application (e.g.PuTTY) before starting the screenpublishing Serial Trigger Adapter otherwise there will be a port conflict.
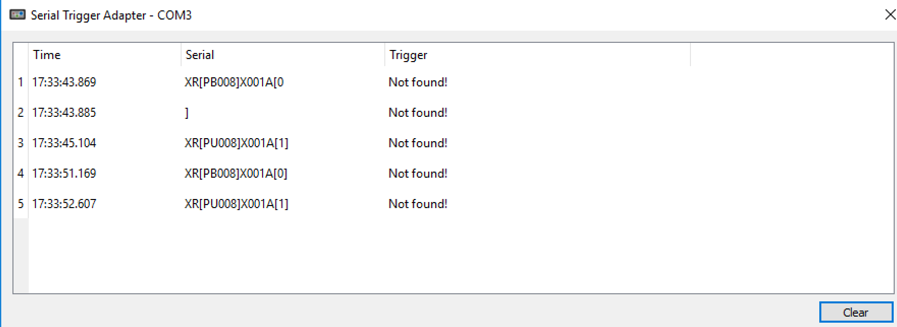
To make sure all is running fine, right click the “Serial Trigger Adapar” icon on the windows SysTray and click on “View log”.
With the log opened, slowly approach and remove an RFID tag to the Antenna and you will see the respective events and triggers shown in the log(see sample image below).
The XD lights can be very useful for debugging your hardware:
The triggers are configured by editing a config file. Right click the Serial Trigger Adapter icon on the windows systray bar and select “Open Settings”.
Edit the trigger and content settings and save the file. The changes will be immediately applied.
The config file follows this format:
[trigger NAME]
input=EVENT
action=/trigger/PATTERN
debounce=5
Where:
– trigger NAME can be any identifier
– EVENT is the event sent by the Nexmosphere module
– PATTERN is the “Keyboard” pattern configured to trigger the interactive content at the specific screenpublishing player ( more details will be provided below).
In our example we have a TAG that generates the following events:
XR[PU008] – TAG 008 added
XR[PB008] – TAG 008 removed
We will configure a trigger with pattern 1234
# Example of trigger configuration
[trigger 8]
input=XR[PB008]
action=/trigger/1234
debounce=5
</code/>
5- Configure screenpublishing
Make sure you are running screenpublishing Windows Player version 8.0.0 or newer.
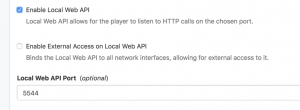
On the player settings page, enable “Local Web API”
You will need to configure the campaign(s) that will be triggered as interactivity campaigns on the player.
Although his rule is currently being configured as a “Keyboard” rule, on future player versions, this will be called Local Web API
Wait until the player synchronization is finished and you now you should be able to trigger campaigns using the Nexmosphere sensors.
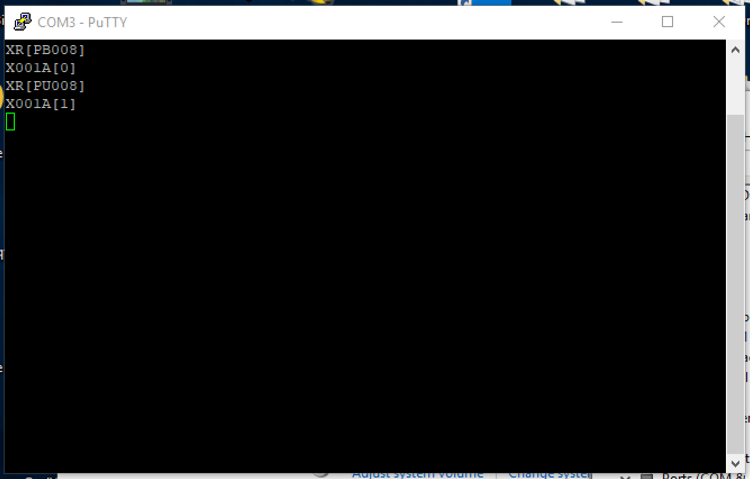
You can also use a standard Serial Port Terminal such as putty https://www.putty.org/ to make sure the Nexmosphere commands are being correctly sent to your Player.
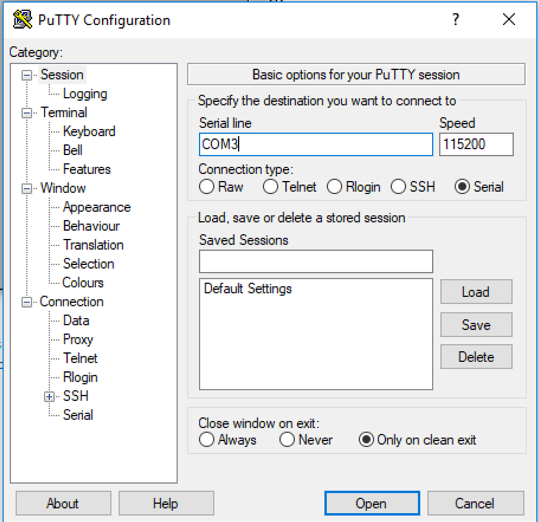
Once the serial port is configured and connected, approach and remove tags from the antenna and the serial port should start reading the sensor information similar to the image below: