How to use the Timeline

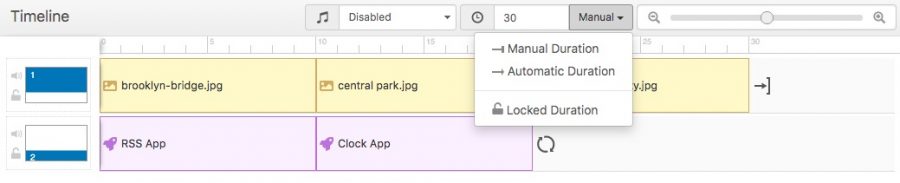
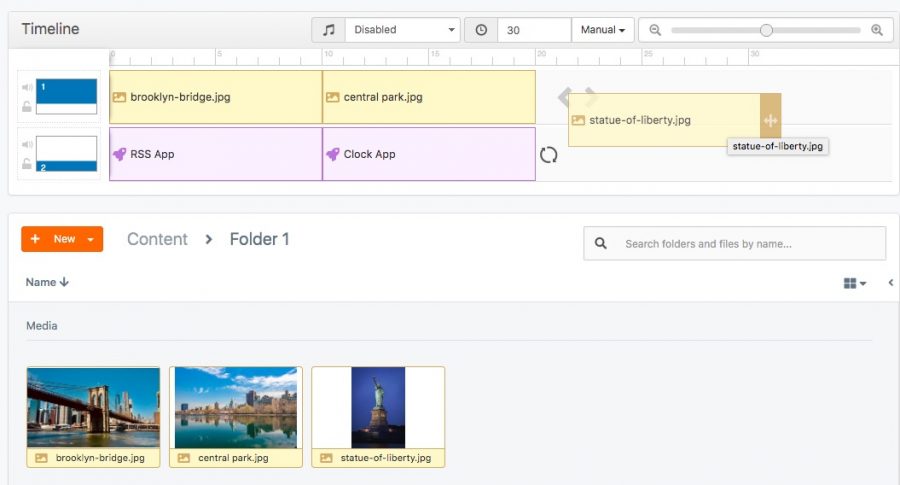
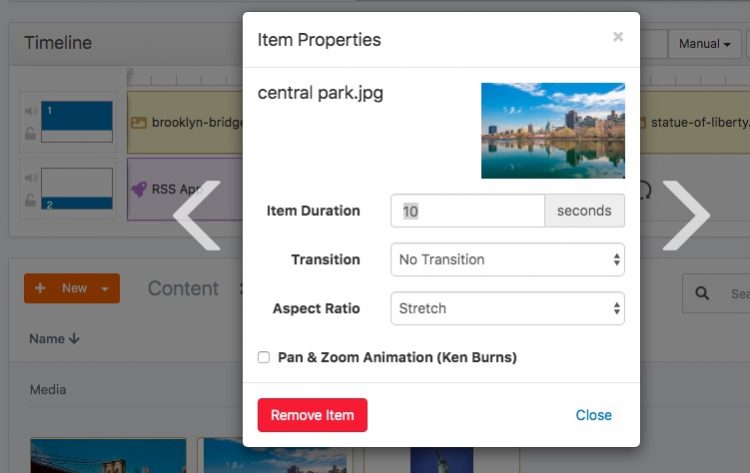
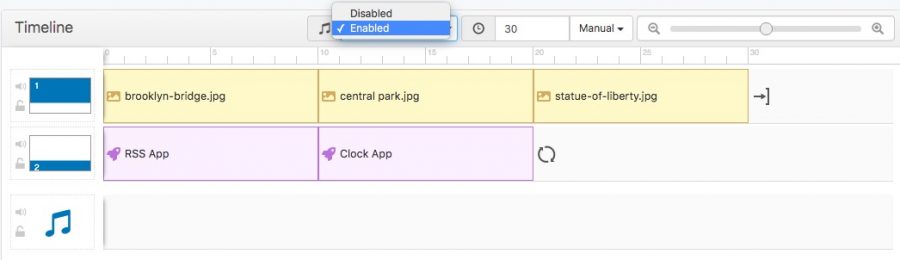
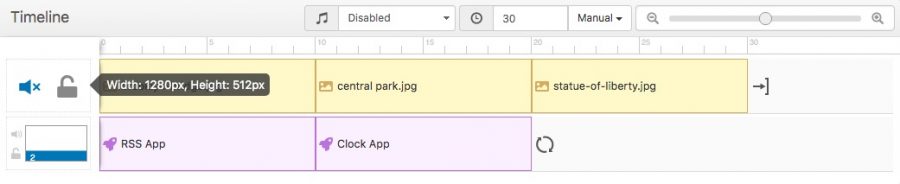
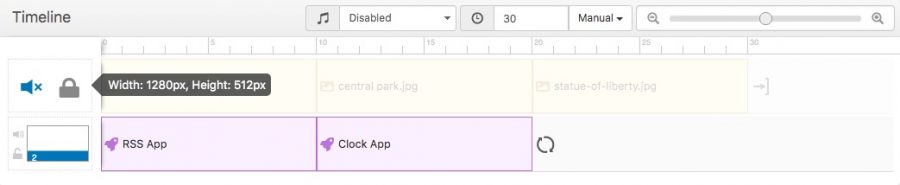
The Timeline is your digital signage stage! Master this tool in a few seconds

Access your Content page and click on the button “New” followed by choosing “Campaign”. The Timeline is right under the Screen Layout and is the central point of your Campaign, showing how many media items and apps you are broadcasting simultaneously, for how long and how. Learn the main uses of this tool.

  • Determine Duration of Campaign: Right above the ruler you can set how many seconds the campaign should last. Add the seconds on “Manual Duration”.Alternatively, you can select “Automatic Duration”, so the Timeline length will expand every time you add a new item to it.timeline change duration
  • Complete media sequence: Drag and drop items from your files and apps to your timeline so they can be viewed by your audience.
    timeline move items
  • Adjust media and apps time: Hold on the bar in the end of each item and drag it to shorten or making it longer. You can also click the item to open a dialog window with length and other settings, such as Ken Burns for photos and editing for apps.
    change item properties
  • Insert audio track: Select “Enable” next to the audio icon to create a new area on the timeline where you can insert songs for as long as your campaign lasts.
    audio track on
  • Mute audio tracks: If you bring videos into the timeline, disable their sound, especially if you have an overlap from another layer of sound by clicking on the speaker icon besides each layer and muting it.
    block audio track from layer
  • Lock layer: If you are done setting content for one layer, lock it before editing the following one to not edit it by mistake. This is for your convenience only, it is not a requirement for Campaign editing. It also prevents Shared Accounts who have access to this Campaign from editing it.
    block layer on timeline