- In your screenpublishing account, go to “Content” on the left sidebar menu. Hit the orange “New” button on top and select “Upload File” from the drop-down menu.

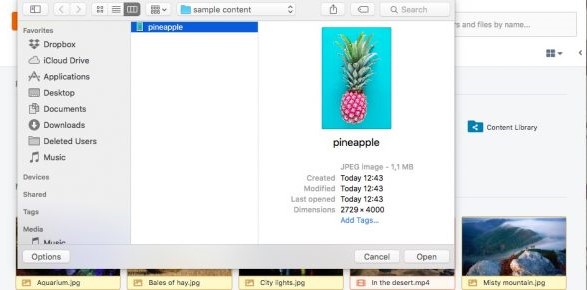
- A pop-up window will open. Browse through your computer maps and select the files you want to add to your content library.
- Confirm with clicking “Open” or the “Enter” key and wait for the file to upload. You can verify the uploading status at the bottom-right. Note, it might take seconds or minutes depending on the file size.

-
Alternative: An even simpler way to upload is to use the drag and drop feature. Simply select the file on your computer, drag it over the screenpublishing content library and drop it there.
It is also possible to upload files later while creating a campaign. Start creating your campaign. The content library is embedded in the campaign editor.
- Go to “Content” and select the “Campaign” folder.
- In the campaign editor, scroll down. At the bottom you will find the Content box. It looks exactly the same as above. Click on “New” and then “Upload File”.
- Select the files on the pop-up window. If you prefer, you can also drag the files from your computer map straight to the screenpublishing page. As you hold the photo or video over the content library, the message “drop your files here to upload them” will show up.
All files will be stored in the content library. Every time you create a new campaign, you can reuse the files previously uploaded.