How to get tag-filtered Reports

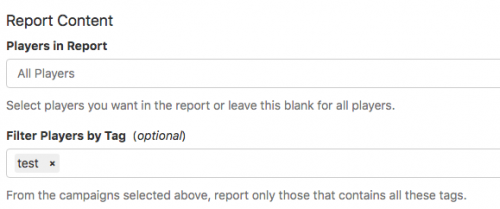
In case you manage a large signage network, you might make use of tags for speeding up the publishing process. With tags you can search for content and devices faster, as well as publish content by tags. Applying the same logic, why not also generate tag-filtered reports?

Now, instead of selecting each Campaign and Player individually which you want added to the report, you can simply filter data by tags.

    1. In your screenpublishing account, click on your username on the bottom-left corner.
    2. Select “Reports” from the drop-down menu.
    3. Choose between single reports, or schedule a new report rule. Read more about scheduled reports here.
    4. Click on “New Report” on the top-right corner.
    5. Select Players: Select one or multiple devices you wish to collect data from. In case you wish to collect more info about a group of devices which share the same tag, you can simply type the tag into the “Filter Players by Tag” box.

Do you not make use of tags in your signage yet? Learn how to add tags to Campaigns and Players, and how to use them here.

  1. Select Campaign: Right after defining which devices will be added to the Report, you need to indicate which Campaigns are going to be included in the Report. If you wish to get information over a bunch of Campaigns, you can also filter these by tags.
  2. Fill out the remaining options for Reports, such as Report kind, output format and emails to be notified.
  3. Hit “Create Report”.

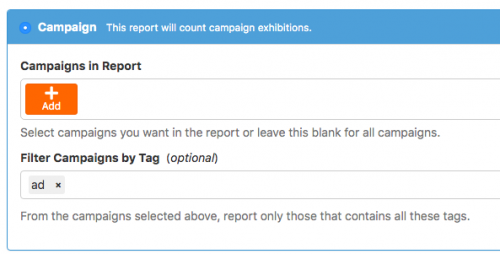
All reports will be displayed in the “Report” page for 14 days, and they will be available at the Content tab within the folder “Reports”. A great way of using the tag-filtered report feature is tagging a Player with an advertiser’s name. Hence, you will be able to create a report for this specific client without worrying about missing a single ad.