Create interactive Campaigns

Let your customers fully engage with the screens by creating interactive Campaigns.

*Supported on screenpublishing App for Android 4.2.0+ and Windows App 9.1.1+


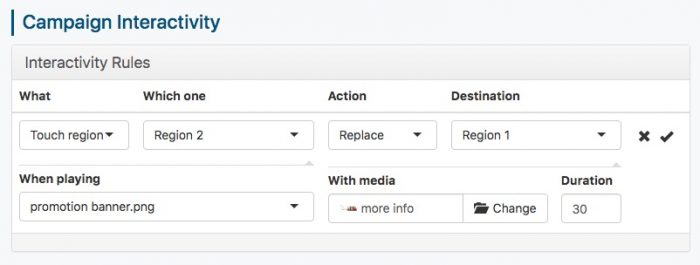
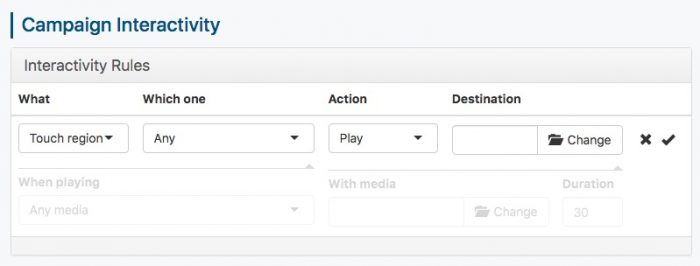
This feature turns screen areas clickable, revealing hidden content or leading to another Campaign. By adding interactivity, clients are able to explore the Campaign’s content as they want, in the order they want it.

There are several ways of employing interactivity on Campaigns. In a restaurant, for instance, a promotion ad banner can lead to further details – price, conditions, frequency and so on – on the main screen area.

Interactive-banner-campaign

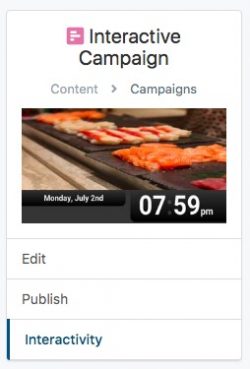
To learn how to apply interactivity, try making the Campaign shown above by repeating the following steps. Afterwards, you will be able to implement it with your own Campaign idea. Download all required files and hands on!

  1. Create a new Campaign in yours creenpublishing account. Select a two-zone preset layout.
    screen layout
  2. Place three images on the larger area 1. Drag two bar apps and the “Promotion banner” to the bottom area 2.
    filled timeline 2
  3. Afterwards, just upload the image you want to show when the person clicks on the screen. In this tutorial’s case, it is the “more info promotion” image. Do not place it in the campaign just yet.
  4. Hit “Save and Publish”.
  5. On the loaded page, select “Interactivity” from the sidebar menu.
    interactivity on side bar menu 2
  6. Click the “Add interaction” button on the top-right. A panel with all interaction settings will be displayed. Check out each field’s function:campaign interactivity panel
      •  What: Define what the audience has to do in order to reveal the content. It can be either touching the screen or pressing a key.
      • Which one: Specify which region of the screen layout the person needs to click to trigger the action. If you choose to trigger the campaign by pressing a key, define which key will do it.
      •  Action: Define what is going to happen when the person interacts with the screen. You can either play another Campaign or replace a screen zone with another media item. In both cases, you need to choose a destination.

    Important: In case you choose to play another Campaign, there is no need to publish it to the player as it will be downloaded automatically.

    • Destination: For “Replace”, set where on screen the file will be shown after the user touches the screen (“Region 2”, for instance). For the Action “Play”, choose which Campaign will play next.
    • When playing: This field works as a filter for the Action. If you keep “any media”, anytime you click the defined screen area, the Action will be carried out (a Campaign will play back or a file will appear on the area you set as Destination). Change this field if you want the action to be performed just when a specific media is playing.
    • With media: select the file which should appear at the Destination you set after the interaction. You can choose any media format.
  7. For this tutorial’s purpose, fill out the settings as shown below:interactivity fields filled 5
    • What: Touch region
    • Which one: Region 2
    • Action: Replace
    • Destination: Region 1
    • When playing: Promotion banner.png
    • With media: More info promotion.png
    • Duration: 30s
  8. Click on the check mark to the left and then hit “Save”.
  9. Click on “Publish” on the menu on the left. Publish the Campaign to a Player and test the interactivity.