Create Instagram feed for screenpublishing

This tutorial will guide you through the process of creating a Instagram RSS feed. For that, you need first to allow Zapier to access your Instagram account. If you don’t have a Zapier account yet, check out this tutorial and learn how to create it. This will take less than two minutes by following these steps:

Integrate accounts

    1. On your Zapier homepage, click on your username on the top-right corner. Then, select “Connected Accounts” on the drop-down menu.
    1. Look for Instagram under “Connected Accounts” or just write it down on the text field. As you click on Instagram icon, a new dialog box will be displayed on your screen. Hit “Authorize” so Zapier can reach your account data.
    1. Your Instagram account will be listed on the Connected accounts page. To avoid confusion, we suggest you rename it in case you manage more Instagram accounts. Just click on the icon to the left of “Instagram Account 1#” and write a new name.


Create Instagram feed for screenpublishing

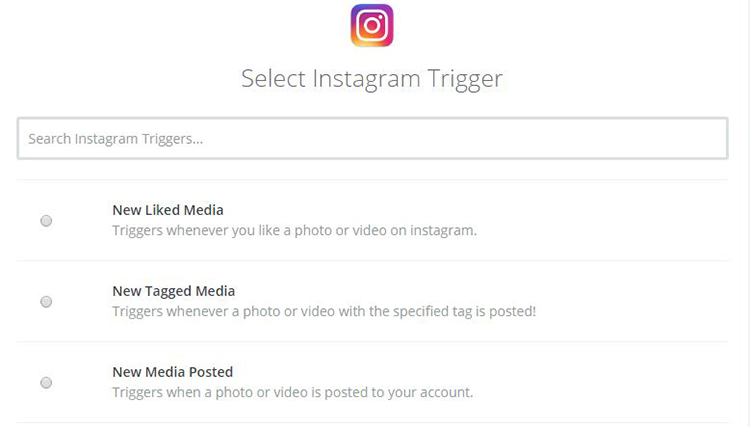
On Zapier, they call any computer automation a “zap”. So you can display your Instagram photos on screenpublishing, we are going to create a RSS feed which will collect all Instagram data. Check step by step below:

    1. Click on “MAKE A ZAP!” at the top of the page.
    1. Select Instagram icon and then click “next”.
    2. Choose from which source Zapier should collect photos: “New Liked Media” or “New Media Posted”. Use the first to show other users’ posts the account has liked and the latter to show only content from the user. Hit “Save + Continue” at the bottom.

3. instagram source - liked or posted media

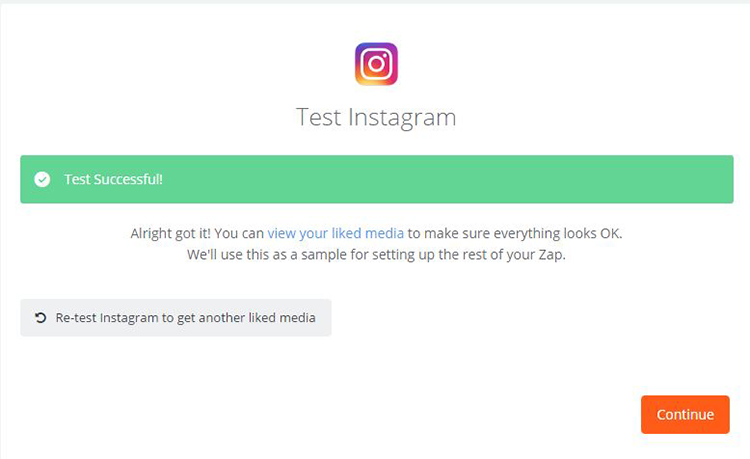
Zapier requires at least one posted picture to be able to continue.

    1. Choose the Instagram account you have just integrated on the previous step and then click “continue”.
    2. In this step, Zapier requires you to test the zap by liking or posting a new photo on Instagram. You can just click “Fetch & Continue” or test it as required.
    3. The following message should appear for you. Hit continue.

4. instagram set - test and post at least one photo

    1. Now, type “RSS” under “Choose an action app”. Select “RSS by Zapier” and click on “Save + Continue” on the loaded page.
    2. The new page will display an form. Fill the fields as described below, then hit “Continue”:
      • URL: Write “instagram-” and complement with whatever you want. Click on the button “Copy to clipboard” on the right. Paste the URL somewhere because you will need it to add the App on screenpublishing


      • Max records: 20
      • Title: Name it as you wish.
      • Source: Do not change the current text.
      • Content: copy and paste the following:

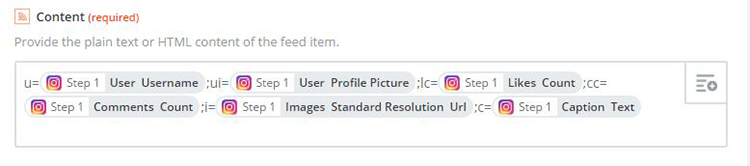
u={{user__username}};ui={{user__profile_picture}};lc={{likes__count}};cc={{comments__count}};i={{images__standard_resolution__url}};c={{caption__text}}


As you paste the text above, you shoud see the following:

8. Content what happens when you paste

      • Pubdate: Copy and paste the following.

{{created_time}}

9. Pubdate what happens when you paste

    1. Zapier will display the feed URL. It will vary depending on your account and content. Just click on “Create & Continue”.
    2. Your zap will be tested. If it is successful, click on “Finish”.
    3. Last, but not least: don’t forget to turn your zap on! Also name it to find it on Zapier website easily.

11. turn on zap